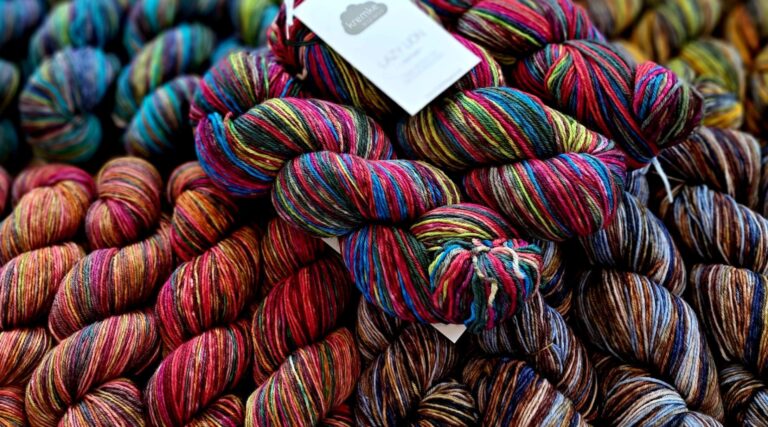
Knit season is finally here, pals! The nights are drawing in, the temperatures are dropping and I for one couldn’t be happier to snuggle up and spend a cosy evening stitching up a storm. And it looks like many of you are doing the same – it’s been wonderful for Janice to see so many of our Stonehaven locals popping into the Baa! shop to refresh their yarn stash with bundles of new yarn and needles for their next knitting project and you’ve been keeping her busy with flurries of online orders, too.
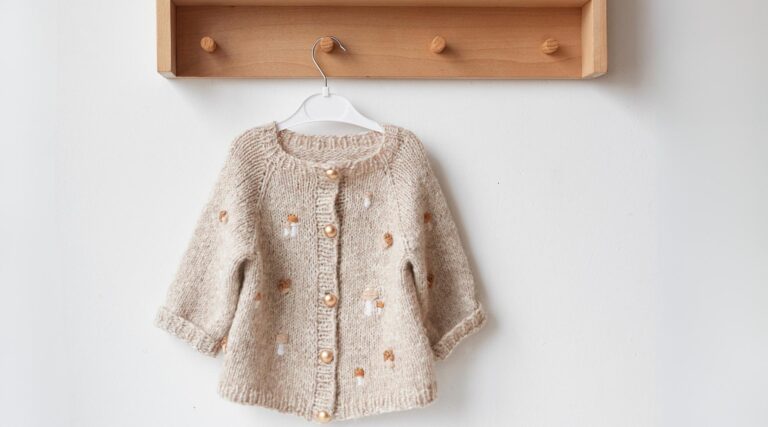
Summer projects and smaller knits like the SWW Islesburgh Toorie are giving way to those larger knitting projects. For me, knit season means piles of handknit sweaters and cosy cardigans so the moment there was a whiff of autumn in the air I couldn’t resist casting on yet another knitted sweater. (I’m working on my second hacked Tendriel Sweater by The Knit Purl Girl – a crackin’ knit for those needing inspo for their next winter knitting project).
Talking of knitting sweaters, I’m just going to cut to the chase here and chat about something (most) every knitter tries to avoid: knitting a swatch and checking your knitting gauge.
I know, I know…. knitting a gauge swatch is the part of knitting that feels sooo tedious, but if you’re about to cast on a handknit sweater, it’s essential.
Sweaters are big, and even for the most petite of people, you’re still going to need an armful of yarn. A typical handknit sweater can use anywhere from 1200-1800m of DK yarn, which could mean 8-12 skeins of a glorious organic wool like BC Garn Loch Lomond, costing around £55-83. I’d say that’s pretty damn reasonable for a handmade jumper, but reasonable or not, it’s still a chunk of money to invest. This is why you want to check your gauge is correct to make sure it’s going to fit perfectly when it comes to casting it off your needles.
For seasoned knitters, the word “gauge” is familiar territory, but if you’re finding this knitting blog as a beginner knitter who is just starting to follow a knitting pattern, you may well have found yourself asking, “What the fluff is gauge?”. Well, let me try and help you understand, 1. what knitting gauge is and, 2. why, yes, you really do need to knit a swatch to check your gauge in order to knit something cosy that you can feel confident will fit.
Knitting gauge is a pretty fundamental aspect of knitting and, more importantly, knitting success, but it’s something that SO many knitters neglect. For beginner knitters, gauge is essentially a measure of how big your stitches are, or more specifically, how many stitches and rows you knit in a 10x10cm square and pretty much serves to ensure that your knitting project will end up at the correct size.
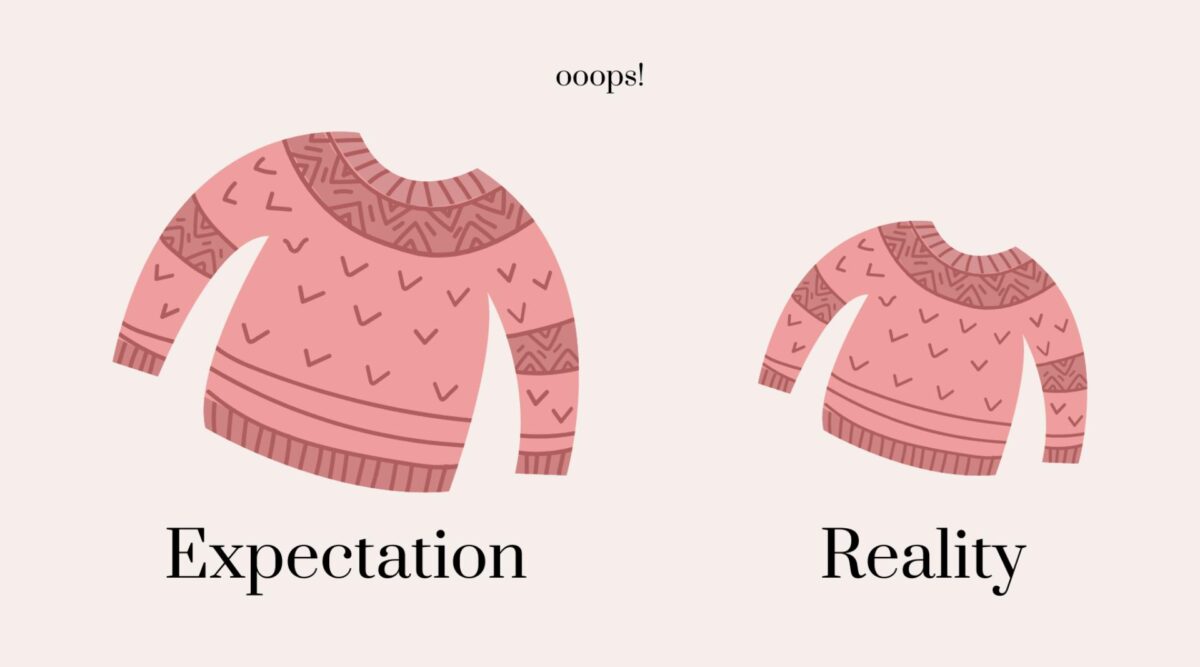
It may seem like an insignificant number when you’re eager to cast on your new project, but ignoring the require knitting gauge, or choosing to wing it and hope for the best can mean that your finished knit ends up wildly too big or heartbreakingly small. And trust me – if you’ve just spent over 100 hours stitching, that is not the result you want.
What you do want, then, is to knit something called a swatch in order to check your gauge before you start knitting.
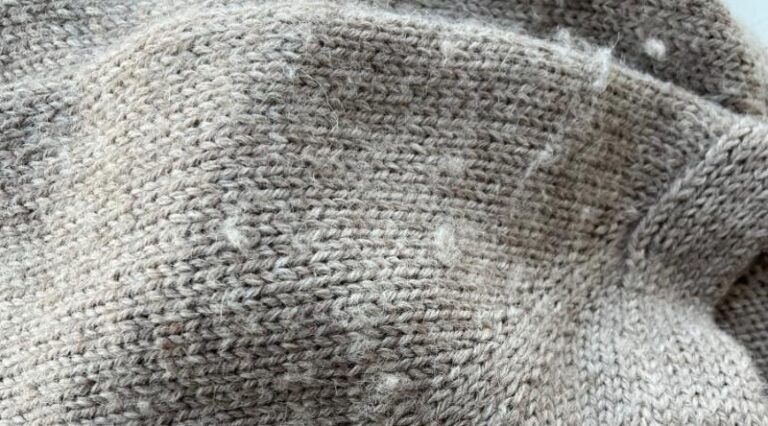
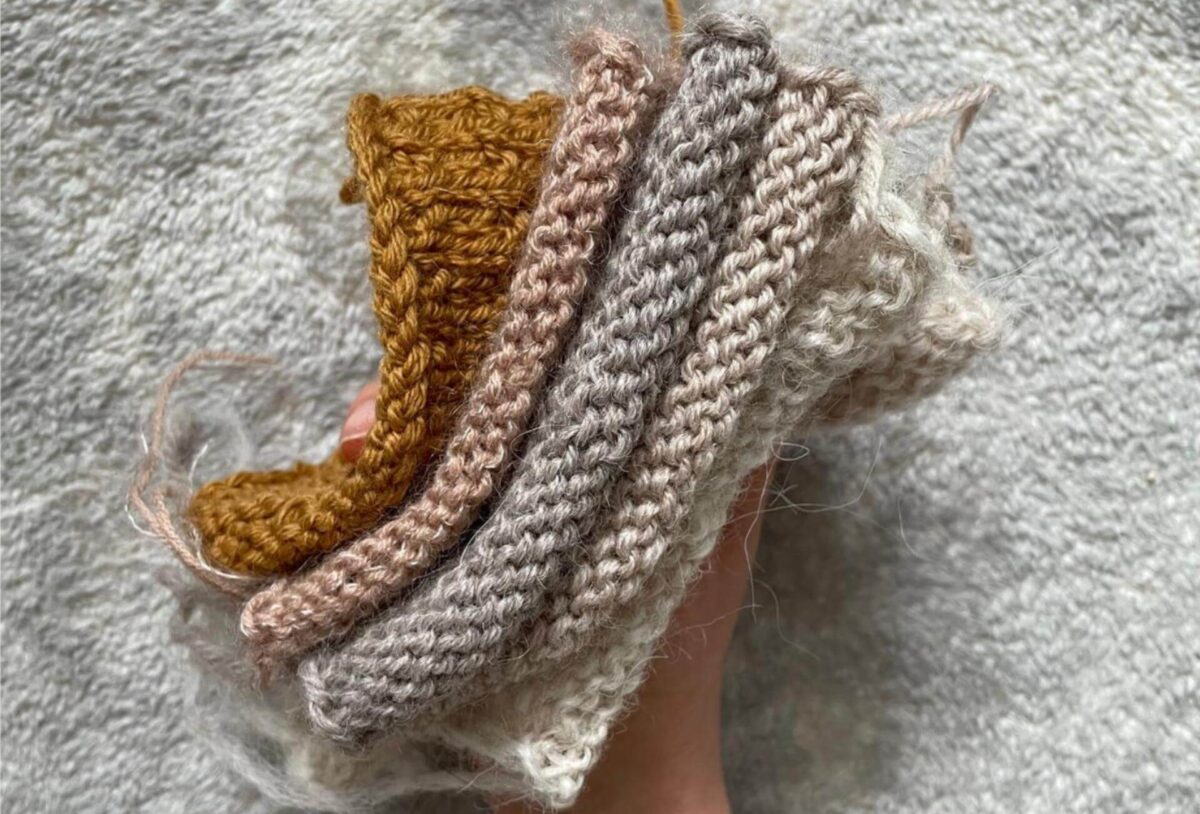
Simply put, a swatch is a rectangle of knitting that you do before you start your knitting project as a test to see what your knitted fabric looks like. It’s basically a small section of your finished project that allows you to see how your yarn behaves and get a taste of the drape and feel of it, but primarily it allows you to test your knitting gauge.
Every knitter worth their salt knows the importance of this step, yet it’s often one that is regularly skipped. To be honest, I get it – you’ve come home from your local yarn store with a bundle of beautiful new yarn and a knitting pattern in hand and you want to get started right away. Knitting a swatch is a headache. It means popping a cork in that excitement and anticipation to spend half an hour knitting up a boring square, and then even worse, you need to wash it, block it, AND leave it to dry overnight before measuring it. Ergh. Where’s the dopamine hit in that?!
But trust me when I say that that boring square of stitches could save you hours and hours of wasted knitting time and a hell of a lot of heartbreak when you discover that that boxy oversized sweater you were hoping for is a very much undersized disappointment.
Not all stitchers stitch alike which is why it is oh-so important to make swatching a habit before embarking on any new knitting endeavour.
Let’s say you’re knitting a super chunky scarf designed to measure 30cm wide. The knitting gauge provided in the pattern is 8 stitches to 10cm which means, in theory, you’ll need to cast on 24 stitches. However, your gauge is too tight, so rather than 8 stitches per 10cm, you knit 10. This means those 24 stitches will only measure 24cm. Now, this is not necessarily an issue knitting a scarf where size isn’t crucial, but if you’re knitting a jumper, suddenly that 6 cm that you’re short for each 30cm will make a noticeable difference.
Let’s take my current knitting project as an example to explain: I’m knitting the Front Porch Pullover by Andrea Gaughan. The required gauge for this pattern is 21 stitches and 28 rows to a 10x10cm square in stockinette and the suggested yarn is one strand of Knitting For Olive Merino held with one strand of Knitting For Olive Mohair. The suggested needle size for the body is 4mm.
This means that I would knit a swatch in stocking stitch using 4mm needles to check my gauge.
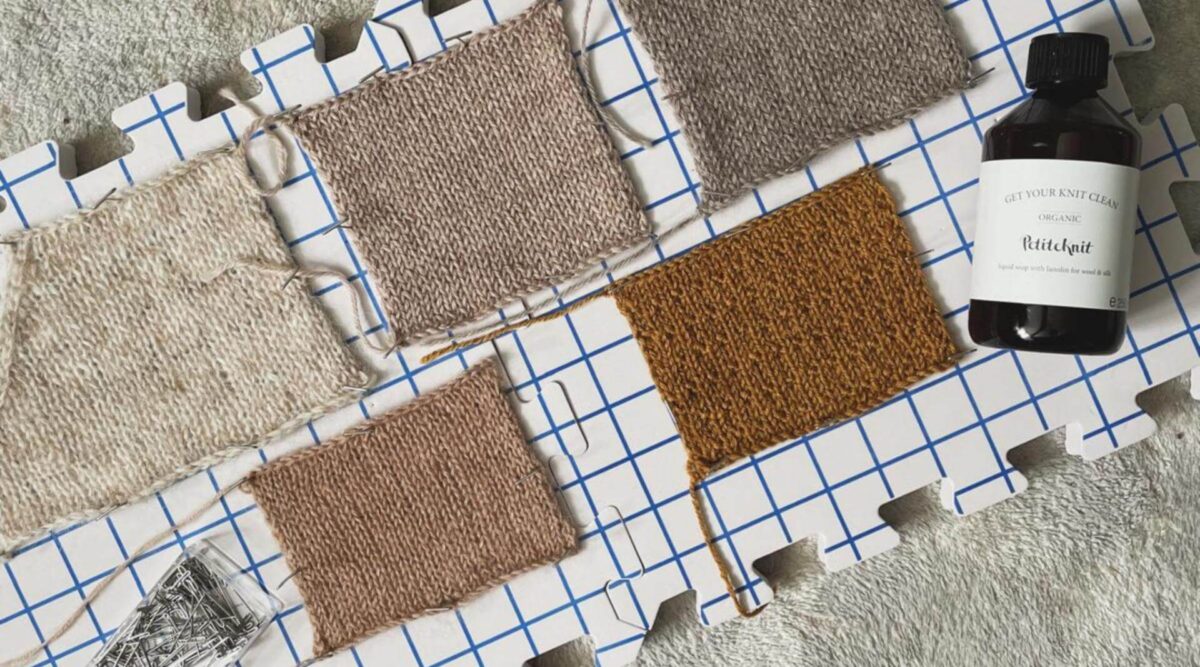
As a general rule of thumb, if a pattern suggests a 4-ply held with a mohair, you’ll probably be grand substituting with a DK which is exactly what I did. I had 5 balls of Warth Mill Saddleworth in my stash that I wanted to use so my swatch served to double check I was happy with both the stitch count and the fabric produced.
Before you actually knit your swatch, you need to work out how many stitches to cast on.
The desired gauge for my sweater was 21 stitches and 28 rows. I like to take these figures, add on a handful to both the stitch and row count and knit a piece to that spec. I think an extra 6-8 stitches is a nice amount to give a bit of room either side.
Some people like to add a neat garter stitch border around their square, but I’m going to straight-up admit that I am far too lazy for that so a simple stocking stitch square will suffice for me. Once knitted, block your swatch – i.e. get it wet, lay it out flat and let it dry overnight – and once dry you’re ready to check your gauge.
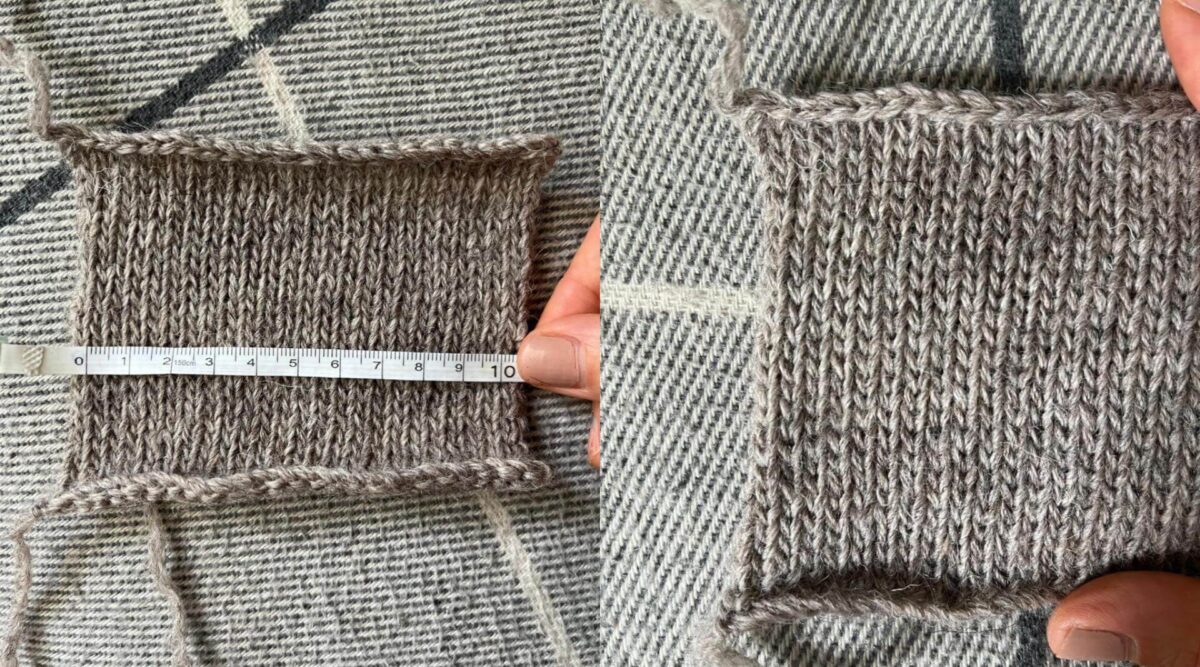
Measuring your swatch is easy peasy. Simply lay your swatch out on a flat surface, grab a tape measure, ruler or needle gauge and count how many stitches and rows you have per 10cm.
Stocking stitch is easy to count as you just count the number of ‘v’s’ across for the number of stitches and the number of ‘v’s’ going up for the number of rows.
21 stitches for me!
If you meet the required number of stitches, fabulous. If you like the feel of the fabric and you’re happy, all the boxes are ticked so it’s time to cast on and get knitting.
If you’re a tight knitter, so you have more than X stitches per 10cm, you might need to go up a needle size. If you’re a loose knitter, so you have less than X stitches per 10cm, you might need to go down a size. Remember to always swatch with the new needle size again until you know your knitting gauge is correct. Yes, it can be a bit of an arduous process, but I promise it’s worth it!
Short answer, yes.
I know it’s not exactly what you want to hear, but swatching checks your gauge matches that required of the knitting pattern and in relation to the knit designer too. It’s not quite as simple as ‘I’m a loose knitter so I know I usually go down a needle size’ because what if the designer is a loose knitter too?
Granted, as you become a bit more experienced you can make educated guesses about what yarns might be right. Plus, if you knit a particular designer’s patterns often, you will become familiar with their knitting tension and know where yours sits around that.
I know that I am a slightly loose knitter. As a general rule, I tend to get less than 20 stitches per 10cm using a DK on 4mm needles. But I made an educated substitute for my Front Porch pullover as I think Warth Mill Saddleworth is on the thinner end of DK so I had a better chance of hitting that magic 21 stitch count.
Your choice of knitting needle can also influence your knitting gauge – my preferred needle of choice being KnitPro Symfonie or Ginger (PSA: combine those interchangeable needle tips with a Mindful Swivel Cable and you’ve got yourself one hell of a combo). Wooden needles tend to give me a slightly tighter stitch than metal. So it’s also worth keeping that in mind too.
Knitting a swatch to check your knitting gauge may feel tedious at the time, especially when you are super excited to cast on and get going, but think of it as an extension of your project. Enjoy getting to know your knitted fabric and feel safe in the knowledge that you’re investing all that time and effort into something that will fit at the end of it. What’s 20 minutes knitting a swatch and leaving it to block overnight compared to 100+ hours of knitting, ya know?
Nobody wants the teeny tiny jumper do they?
To provide the best experience we use cookies to store and/or access information. Consenting will allow us to process data on this site. Not consenting may adversely affect certain features and functions.